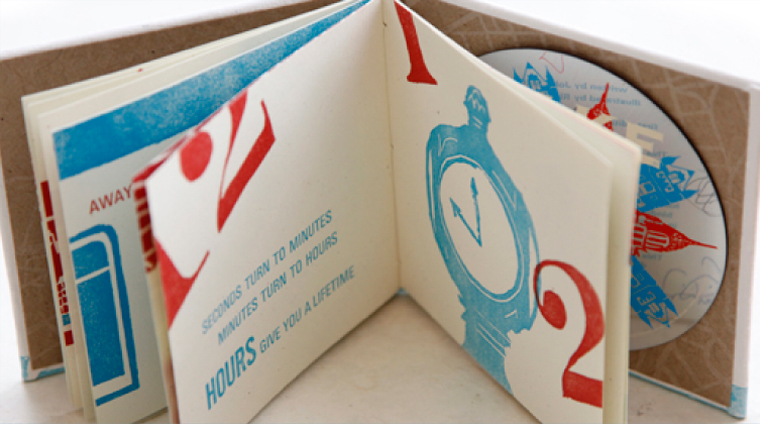
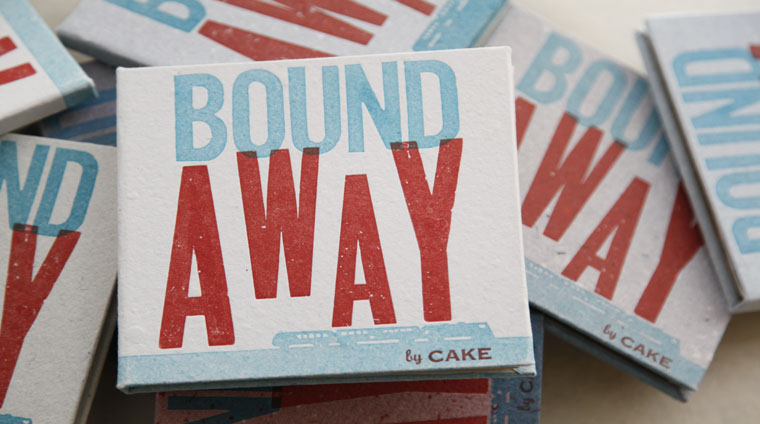
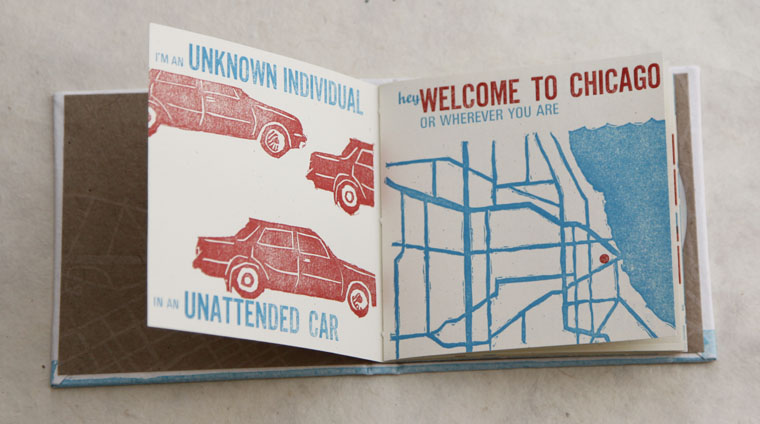
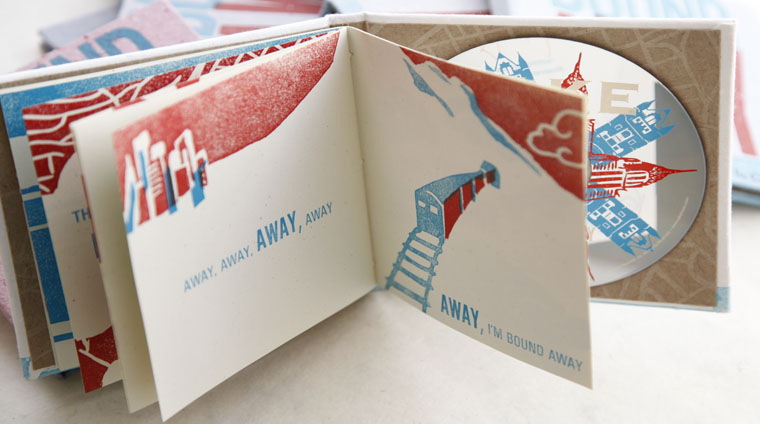
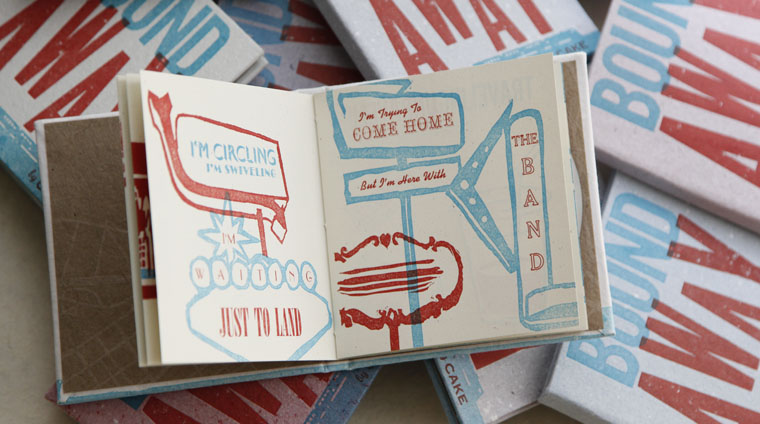
Buy Software & Apps How to Edit YouTube Videos Share Pin Email Print Software & Apps Browsers & Internet Video & Audio Backup & Utilities Social Networking News & Reference Antivirus & Security Email & Messaging Windows Only Mac Only iOS Only Android Only View More by Gretchen Siegchrist Updated November 14, 2017 01 of 08 YouTube's Video Editor Is No More By MarkoProto (Own work) [ CC BY-SA 4.0], via Wikimedia Commons YouTube used to provide an impressive set of video-editing features free for users in its Video Editor—but as of September 2017, this feature was discontinued. The Enhancements section, however, allows you to perform an array of video editing tasks, such as:Auto-fixing lighting and colorStabilizing shakinessApplying slow motion, time lapse, and filtersTrimmingRotatingBlurringMost users find YouTube's video editing tools fairly intuitive. Here's how to use them. 02 of 08 Navigate to Your Channel's Video Manager After you log into your YouTube account, look in the top right corner. Click on your picture or icon. From the menu that appears, select Creator Studio. On the menu to the left, click Video Manager. You'll then see a list of videos you've uploaded. 03 of 08 Select a Video Find the video you'd like to edit in the list. Click Edit, then Enhancements. A menu will appear to the right of your video, from you can choose what you'd like to do to it. 04 of 08 Apply Quick Fixes You'll find several ways to enhance your video under the Quick fixes tab.To optimize lighting and color in one step, click Auto-fix . To make manual adjustments, find Fill Light, Contrast, Saturation, and Color Temperature below the Auto-fix button. Use the sliders to increase or decrease each of these as desired.If your video is a bit shaky, select the Stabilize option.Choose Slow Motion to slow down your video's playback to half speed, quarter speed, or eighth speed.Time Lapse speeds up the rate at which your video plays. You can select 1x, 2x, 4x, or 6x.Trim allows you to clip at your video's beginning or end.Click the arrows next to the Trim button to rotate your video left or right. 05 of 08 Apply Filters Clicking on the Filters tab (next to Quick fixes) brings up the many filters available. You can give your video an HDR effect, turn it black and white, make it more vivid, or apply any number of other fun, intriguing effects. You can try each before committing to it; if you decide not to use it, simply click it again. 06 of 08 Blur Faces Sometimes—typically for privacy—you'll want to make faces in your videos indistinguishable. YouTube makes this easy:Click on the Blurring effects tab.Then, choose Blur faces > Edit. YouTube will find the faces in your video automatically. This make take a few minutes; you can do other tasks in YouTube while this process completes.A thumbnail will appear for each face detected. Choose which ones you'd like to blur. 07 of 08 Apply Custom Blurring Custom blurring lets you blur not only faces, but also objects and other elements. Here's how:Click Custom blurring > Edit. Click and drag to box in the area you'd like to blur. You'll see the blurring happen as you do.You can move the blurred box by clicking and dragging within it.Click and drag a corner to change the size of the blurred box.Choose when the blurring starts and stops by clicking and dragging the ends of the timeline.To keep the blurred box from moving. select Lock in the timeline.To blur more than one spot, simply click and drag additional boxes wherever you like. 08 of 08 Save Your Enhanced Video Click Save in the upper right corner to save your video at any time after you make changes.Note: If your video has had more than 100,000 views, you must save it as a new video. Was this page helpful? Thanks for letting us know! Share Pin Email Tell us why! Other Not enough details Hard to understand Submit Continue Reading